📋 Tutorial
From zero to a deployed app in minutes. Learn how to use SaaSClaw's AI wizard to build and ship — with screenshots from the real product.
Table of Contents
1. 🌐 Landing Page
Visit saasclaw.ai and you'll see the main landing page:
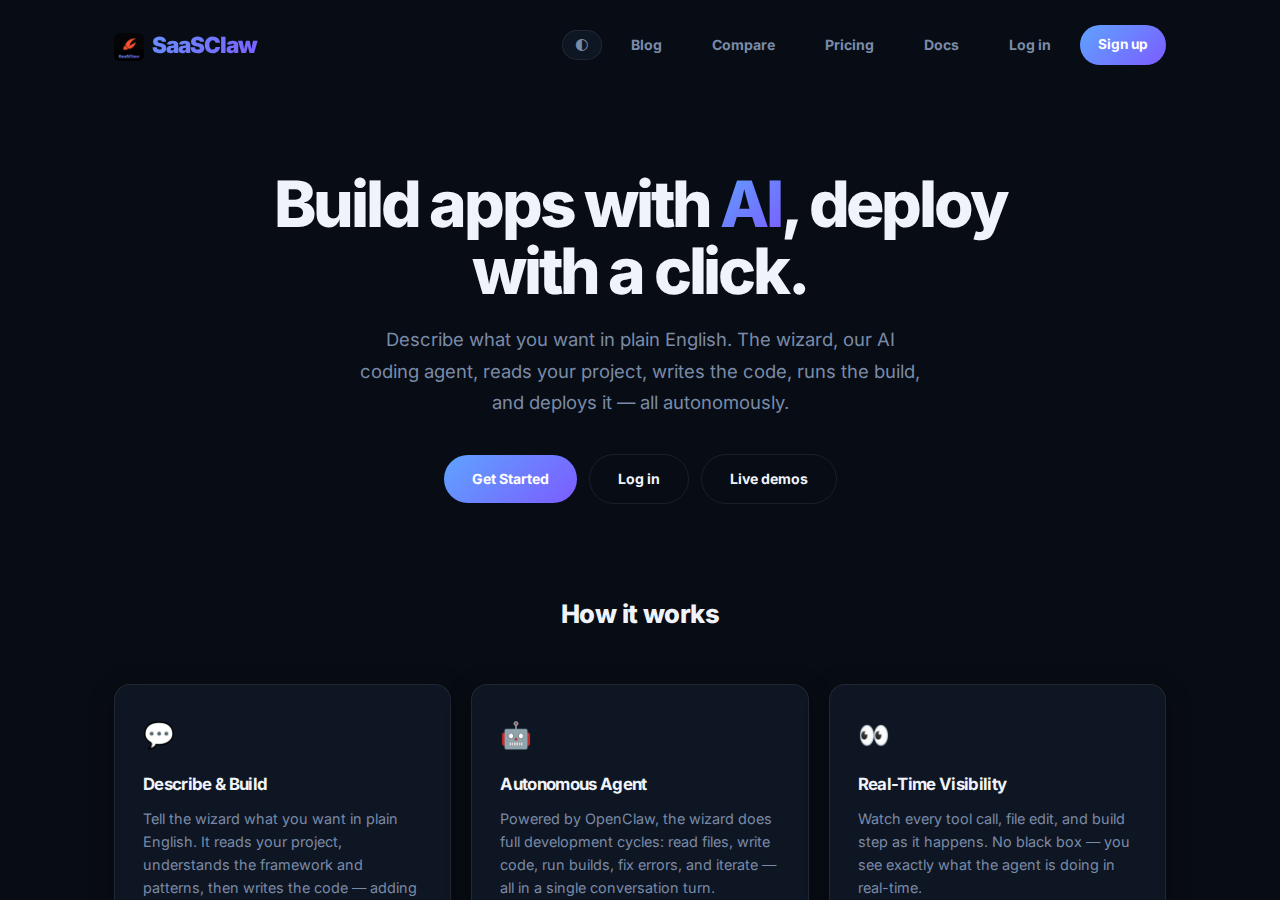
The hero section says it all: "Build apps with AI, deploy with a click." Below the headline are three action buttons:
- Get Started — Create an account and start building
- Log in — Return to your dashboard
- Live demos — See example projects in action
Scroll down to see the How it works section with feature cards covering everything from the AI wizard to deploy rollback, and the Works with your stack section listing all supported frameworks.
2. 🔐 Sign Up & Log In
Click Get Started or Log in to reach the authentication page:
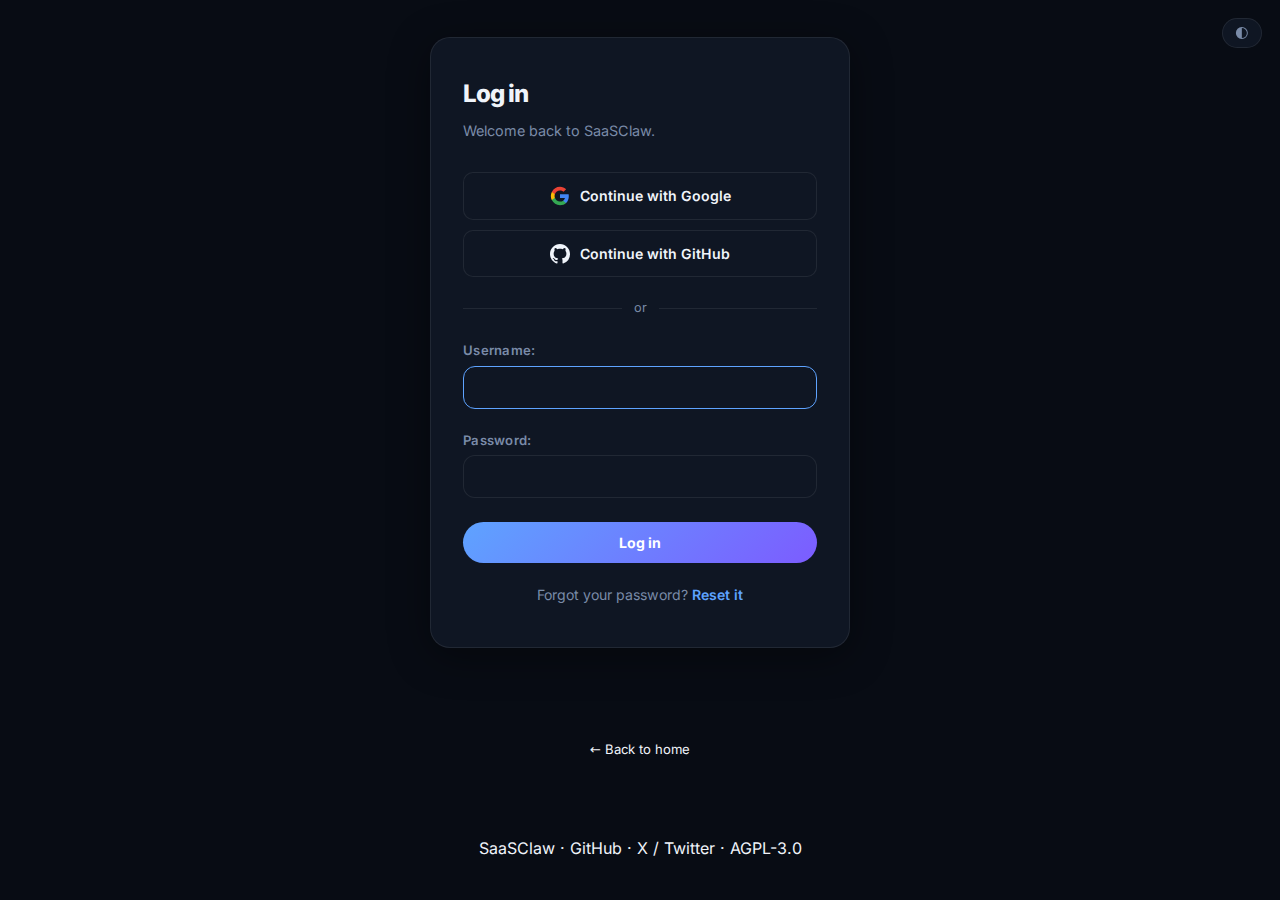
Sign In
The login page offers:
- Continue with Google — One-click OAuth
- Continue with GitHub — One-click OAuth
- Username + Password — Traditional login form
Sign Up
New users can create an account via Google OAuth, GitHub OAuth, or email + password registration. If you use GitHub OAuth, you'll automatically be able to push code from SaaSClaw to your repos.
3. 📊 Dashboard
After logging in, you land on the Projects dashboard:
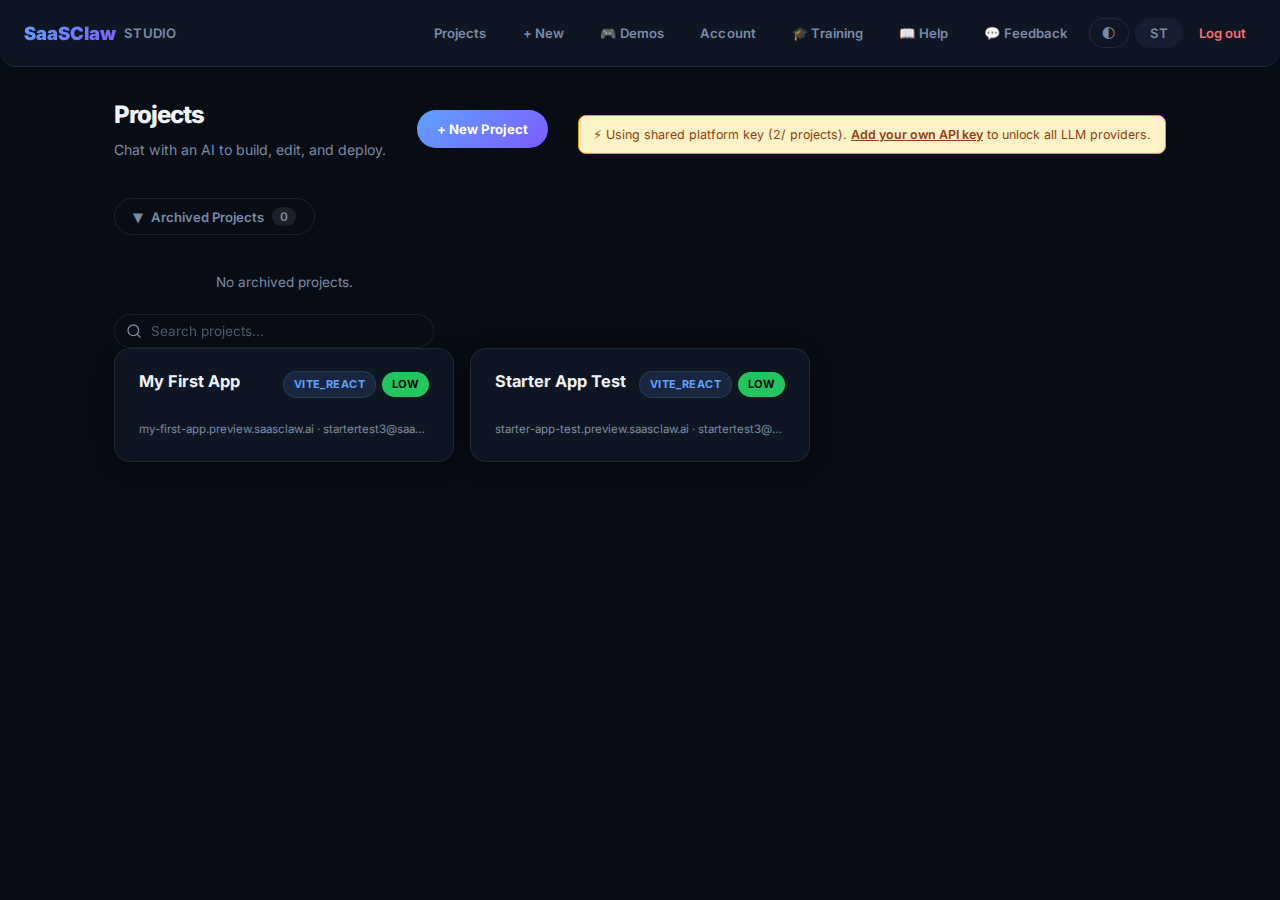
The top navigation bar includes:
- SaaSClaw Studio — Logo and name
- Projects — Your project list (current page)
- + New — Create a new project
- Demos — Example projects to explore
- Account — Profile, API keys, GitHub integration
- Help — Documentation and support
Project Cards
Each project appears as a card showing:
- Project name — e.g., "My First App"
- Framework badge — e.g.,
VITE_REACT,DJANGO,DOTNET,JAVA - Status badge — Token usage level (e.g.,
LOW,MEDIUM,HIGH) - Preview URL — e.g.,
my-first-app.preview.saasclaw.ai - Action buttons — Open the wizard, deploy, or manage
Shared Key Banner
If you're using the platform's shared API key (default for new users), you'll see a yellow banner prompting you to add your own API key. Click Add your own API key to go to Account → API Keys, where you can add keys for Z.AI, OpenAI, Anthropic, Kimi (Moonshot), Ollama Cloud, Groq, or other providers.
4. ✨ Creating a New Project
Click + New in the navigation or the + New Project button on the dashboard:
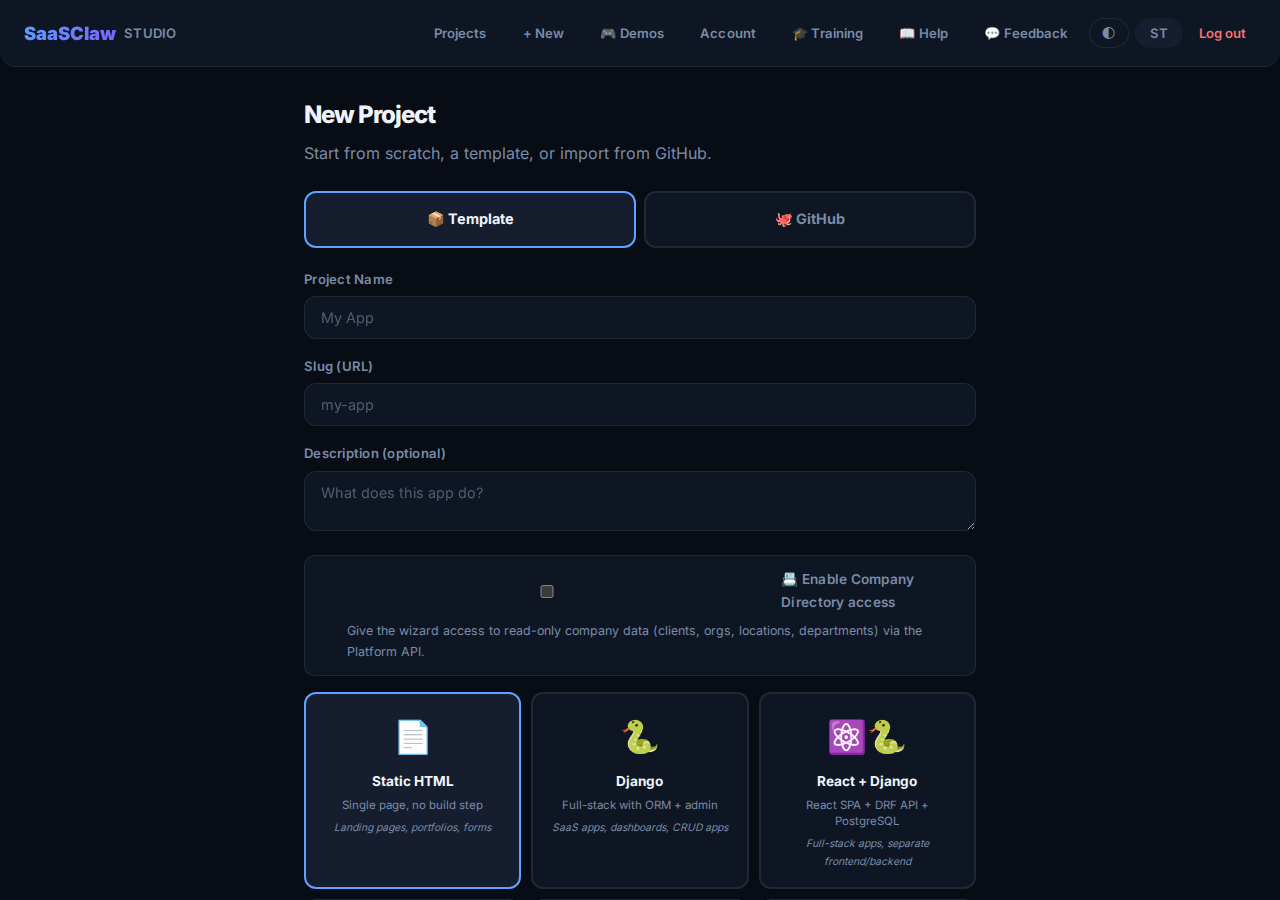
Template Creation
When using a template, fill in:
- Project Name — A human-readable name (e.g., "My Portfolio")
- Slug — Auto-generated URL-safe identifier (e.g.,
my-portfolio). Used in your preview URL:my-portfolio.preview.saasclaw.ai - Description (optional) — What are you building?
Then pick a template: Static HTML, Django, React + Django, React + Vite, .NET/C#, Spring Boot/Java, and more. Click Create Project to set up the workspace. The platform will create a project workspace, initialize a git repository, set up the framework template, and create a preview subdomain.
GitHub Import
If you choose GitHub, you'll be prompted to install the SaaSClaw GitHub App and select a repository. The wizard will clone your existing codebase and start from there.
5. 🧙 The AI Wizard
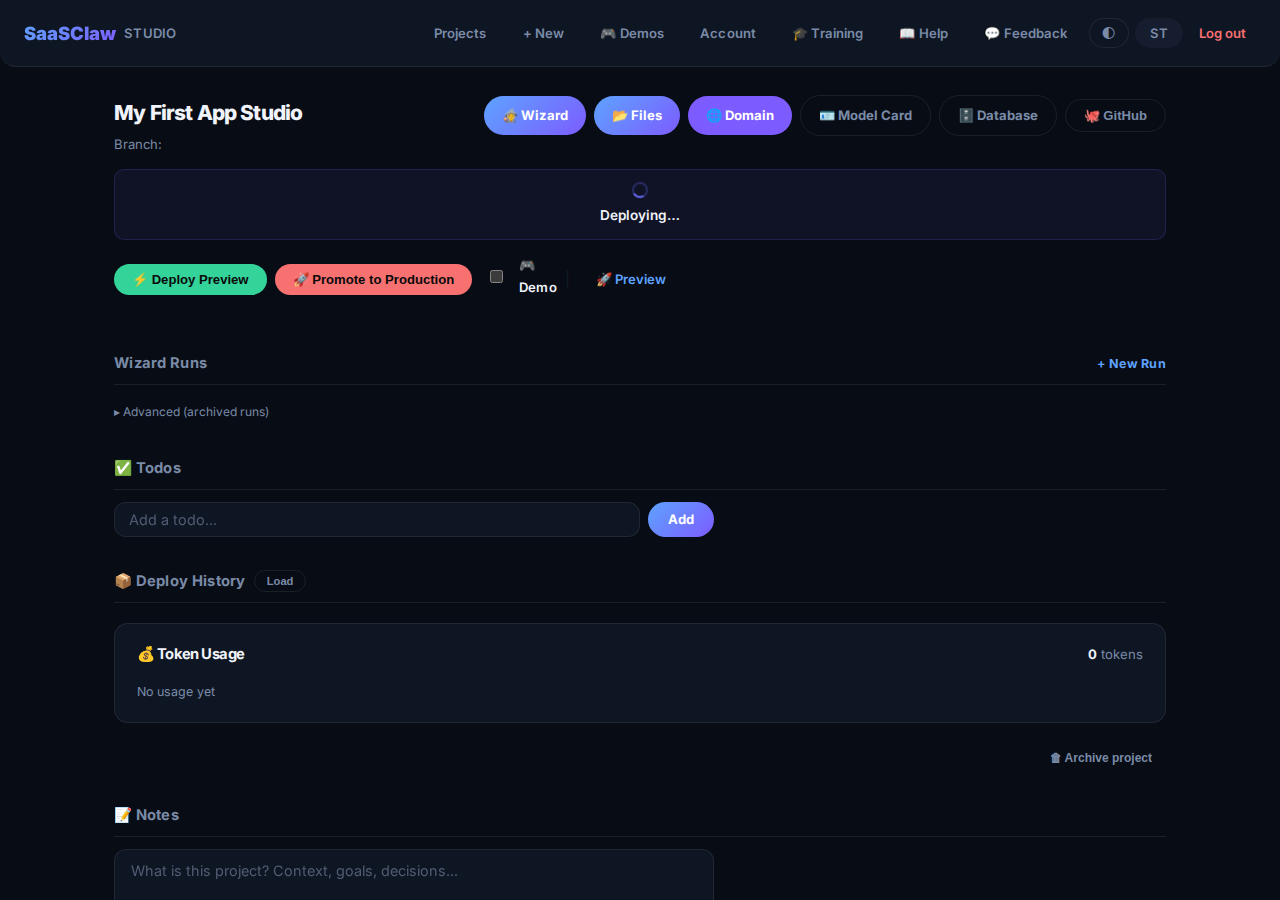
The wizard is SaaSClaw's core experience — an AI coding agent that reads your project, writes code, and deploys it:
Wizard Header
The top of the wizard page shows:
- Project name with framework badge
- Live badge — Green
● Livewith your preview URL if deployed, or⚪ Deploying...during deploys - Tab bar: Wizard · Files · Domain · Model Card · Database · GitHub
Chatting with the Wizard
Type your request in the input box and press Enter or click Send. Examples:
- "Create a landing page with a hero section, pricing table, and contact form"
- "Add a dark mode toggle to the navbar"
- "Fix the CSS layout issue on the about page"
- "Add a REST API endpoint that returns all blog posts"
The wizard will:
- Read your project files — It scans the codebase to understand the structure
- Plan the changes — Decides what files to create or modify
- Write code — Makes the changes using tools like
write_file,edit_file - Run builds — Executes build commands and checks for errors
- Fix issues — If the build fails, it reads the error and fixes the code
- Deploy — Auto-deploys to your preview environment
Tool Calls
As the wizard works, you'll see tool call cards in the conversation. Each shows the tool name (e.g., 🔧 write_file, 🔧 shell) and the result. Click a card to expand and see the full output.
Side Panels
Alongside the wizard, several panels provide context:
- Files — Browse your project's file tree and view/edit files
- Domain — Manage custom domains
- Model Card — View and edit the AI model configuration
- Database — Inspect and manage your project's database
- GitHub — View git status, diffs, and push changes
6. 🚀 Deploying Your Project
Deploying in SaaSClaw is designed to be automatic, but you can also trigger deploys manually.
Automatic Deployment
When the wizard finishes coding and the build succeeds, it automatically deploys to your preview environment. You'll see the live badge change to:
● Live — my-first-app.preview.saasclaw.ai
Click the green Live badge to open your site in a new tab.
Manual Deploy
From the wizard page, click Deploy Preview to trigger a fresh build and deploy. The deployment process shows progress through 5 phases:
- Init — Setting up the build environment
- Pull — Merging latest changes
- Build — Running the build command (e.g.,
npm run build) - Deploy — Copying files to the web root and configuring nginx
- Health — Verifying the site responds correctly
Promote to Production
Once your preview looks good, click Promote to Production to deploy to your production environment. This follows the same 5-phase process but deploys to {slug}.saasclaw.ai (no .preview subdomain).
7. 👤 Account & API Keys
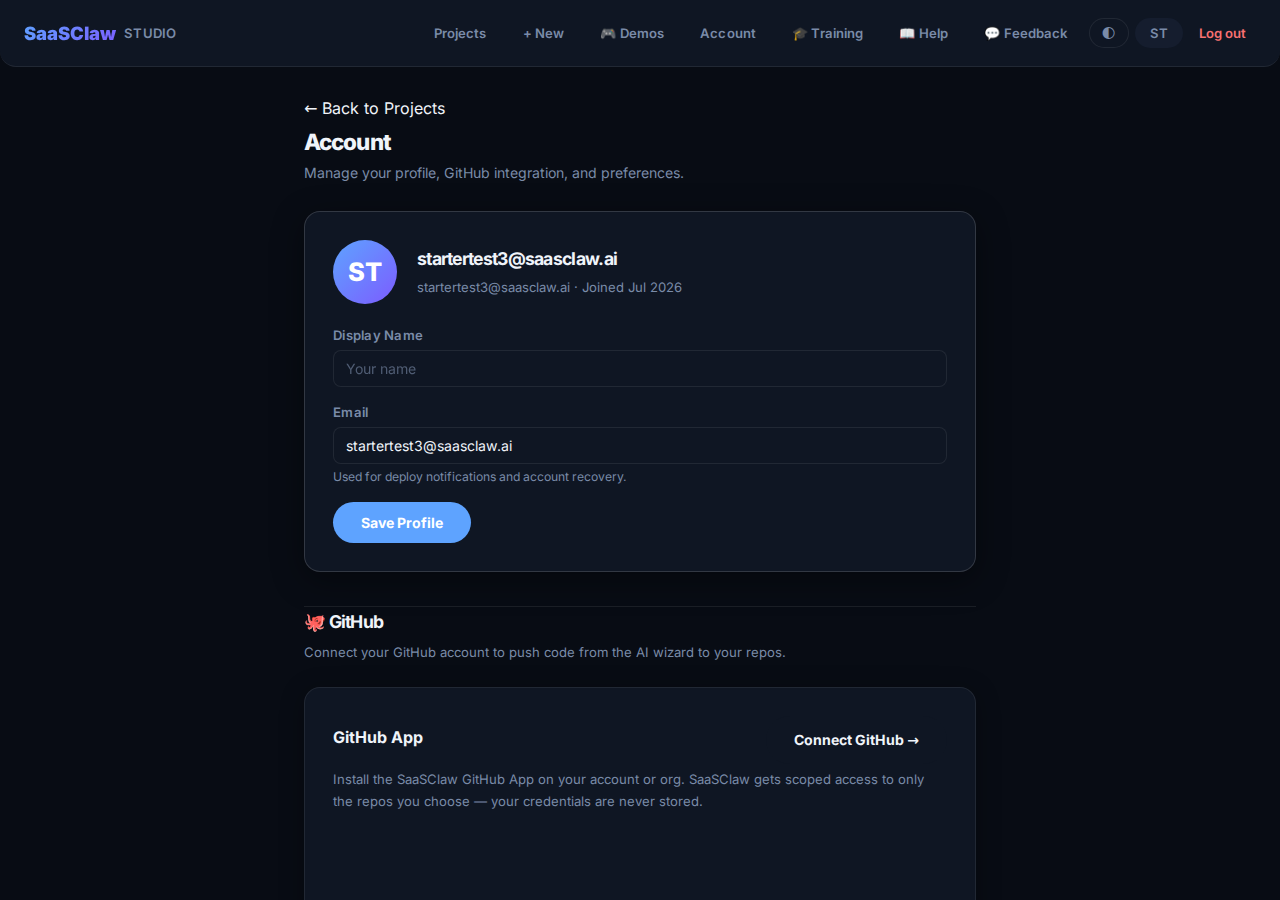
Click Account in the navigation to manage your profile:
Profile Settings
- Display Name — Your name as shown in the platform
- Email — Used for deploy notifications and account recovery
GitHub Integration
- Connect your GitHub account — Grants the wizard push access to your repos
- Install the SaaSClaw GitHub App — Scoped repo access; credentials are never stored
- Import existing repos as new projects
API Keys
From Account, you can manage API keys for LLM providers:
- OpenAI — GPT-4, GPT-4o, etc.
- Anthropic — Claude models
- Z.AI — GLM models
- Custom endpoints — Self-hosted models via OpenAI-compatible APIs
Ready to build?
Create your first project and see the AI wizard in action.